We recommend products we would use ourselves and all opinions expressed here are our own. This post may contain affiliate links, which means we might make a small commission at no extra cost to you. This helps us keep the blog running. See our full disclosure here.
Simple Homemade Yogurt
Easy Steps for a Creamy Delight
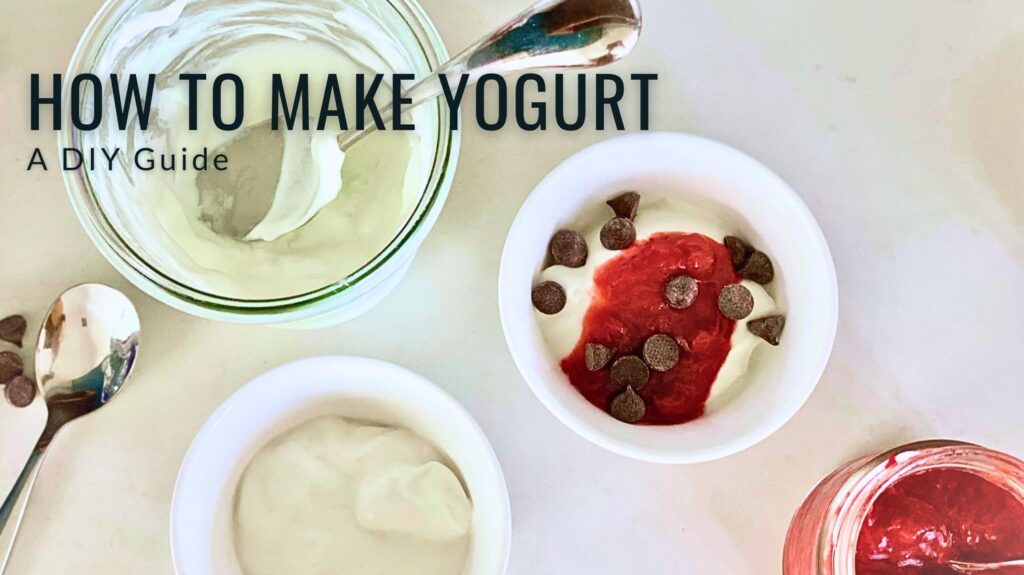
Homemade Yogurt is something we always have in our refrigerator. I use it weekly to make pancakes, baked goods, dips, snacks, popsicles, and school lunches. DIY homemade yogurt is something you can make in a big batch and enjoy for about 2 weeks in the refrigerator.
My daughters love drizzling honey over a bowl of yogurt for a healthy treat. Another of their favorites is blended with frozen mango to make a smoothie. I love it in many applications, but one of my favorites is with granola, especially my chocolate buckwheat granola.
Why Make Homemade Yogurt
DIY homemade yogurt offers numerous benefits—better taste and texture and the absence of additives or preservatives are a few. You can also tailor it to your taste preferences and dietary needs. For example, the flavor changes depending on how long you let it ferment. Another benefit when making a large batch is using it for multiple applications. For instance, strain some to make Greek yogurt or tzatziki, and add fruit or flavors to the rest. Don’t forget to leave some plain for baked goods—yogurt is a great substitute for buttermilk in recipes.
How Yogurt is Created
To explain why yogurt is considered a beneficial and nutritious food, it is helpful to know what yogurt is. Yogurt-making involves the fermentation of milk by introducing specific strains of bacteria, such as Lactobacillus bulgaricus and Streptococcus thermophilus. While these bacteria consume lactose (milk sugar), they convert it into lactic acid, which thickens the milk and imparts the characteristic tangy flavor of yogurt. Live bacteria in yogurt are often referred to as probiotics. Specifically, we like probiotics for their potential to support digestive health and boost the body’s immune system.
The Versatility of Plain Yogurt
Yogurt can be a base for smoothies, parfaits, marinades, and sauces. Its creamy texture and mild taste make it an ideal ingredient for sweet and savory creations.
Creative Yogurt Snack and Meal Ideas
- Yogurt Parfait: Layer yogurt with granola, fresh fruits, and a drizzle of honey for a nutritious and satisfying breakfast or snack.
- Porridge Topper: Top your oatmeal/porridge with a dollop to add creaminess and some protein.
- Greek Yogurt Dips: Strain and blend yogurt with herbs, garlic, and lemon juice to create a flavorful dip for veggies or pita chips.
- Yogurt Smoothie: Combine yogurt with your favorite fruits, a splash of juice, and a handful of spinach for a refreshing and nutrient-packed smoothie.
- Yogurt Marinade: Use yogurt as a marinade for chicken or tofu, adding tenderness and a hint of tanginess to your dishes.
- Frozen Yogurt Bark: Spread yogurt onto a baking sheet, top with nuts, seeds, and dried fruits, and freeze for a delicious and cooling treat.
- Popsicles: Blend yogurt with fruit or cocoa powder (like our healthy chocolate fudgesicle recipe) to make a fun popsicle treat for adults and kids.
- Baked Potatoes: Substitute yogurt for sour cream in baked potatoes.
- Tuna or Chicken salad: Cut your mayonnaise in half in your tuna and chicken salad recipes and replace it with yogurt to add healthy probiotics.
How to Make Homemade Yogurt with a Heating Pad
Plan for approximately 10 minutes of hands-on work and 10-12 hours to let the milk ferment.
Ingredients:
- 1 liter of milk (any fat percentage)
- 2 tablespoons of plain store-bought yogurt (with live active cultures)
Tools:
- Medium pot
- Large stock pot with lid
- Cooking thermometer
- 2 1/2 liter glass jars for storage
- Heating pad
- Thick kitchen towel
- Insulated container or cooler
Instructions:
Heat the Milk
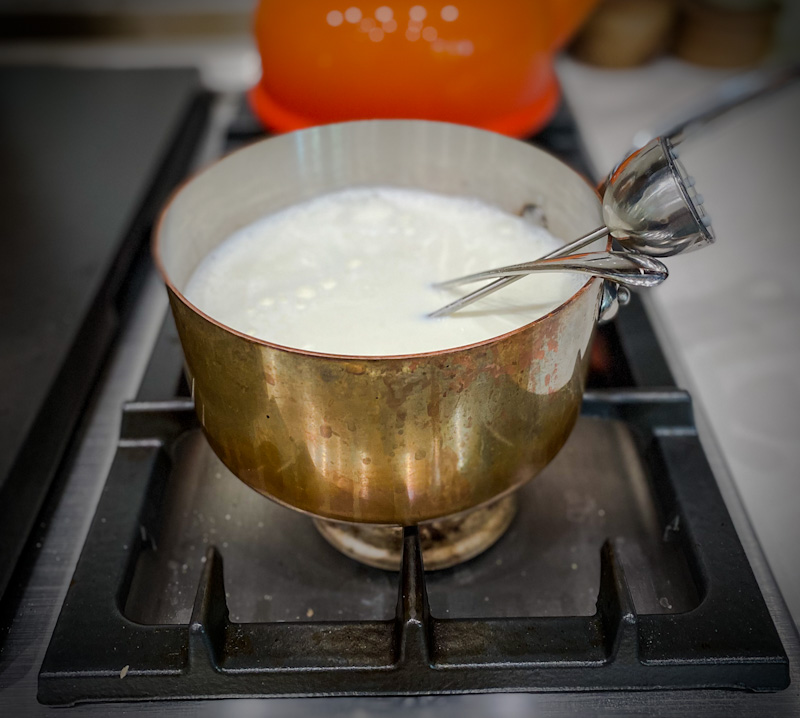
Pour the milk into a large pot and heat over medium heat until it reaches around 180°F (82°C). This helps denature the proteins in the milk for a thicker yogurt consistency. Stir occasionally to prevent scorching. For me, this process takes about 8 minutes.
Cool the Milk
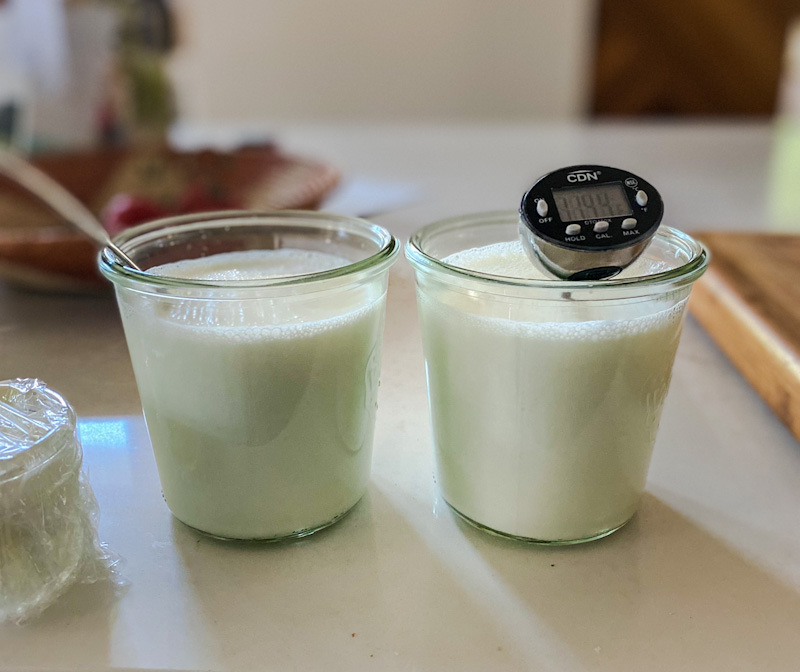
Move your mixture into your glass storage jars and allow the milk to cool to about 110°F (43°C). Use a cooking thermometer to monitor the temperature. My milk is usually cooled to the correct temperature within 45 minutes.
Add Starter Culture
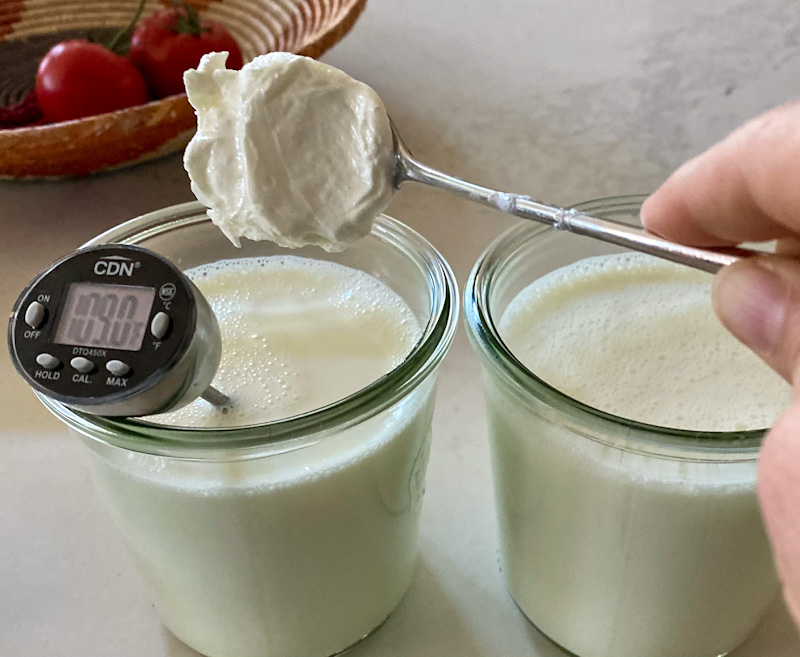
Mix one tablespoon of the store-bought yogurt with a small amount of the cooled milk in each glass jar and gently whisk the milk mixture. Some small lumps are fine.
Yogurt with a Heating Pad: Set up Incubation Area
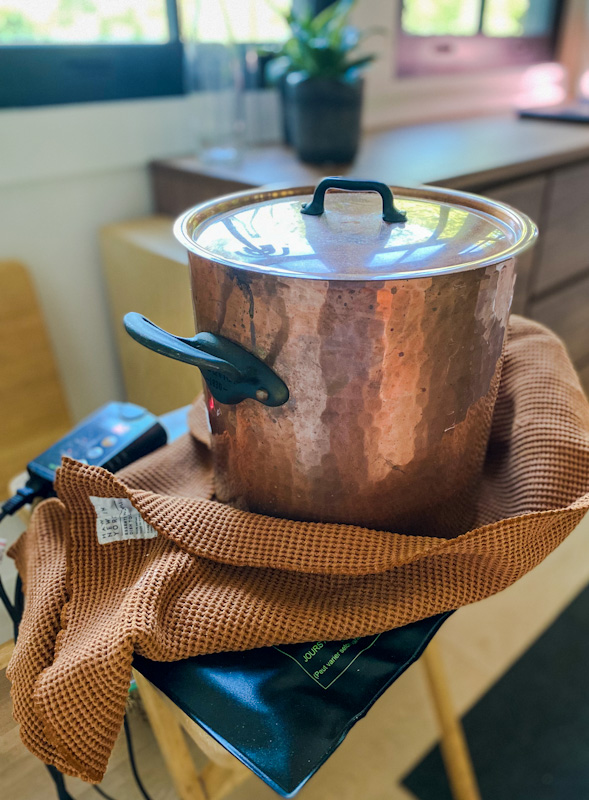
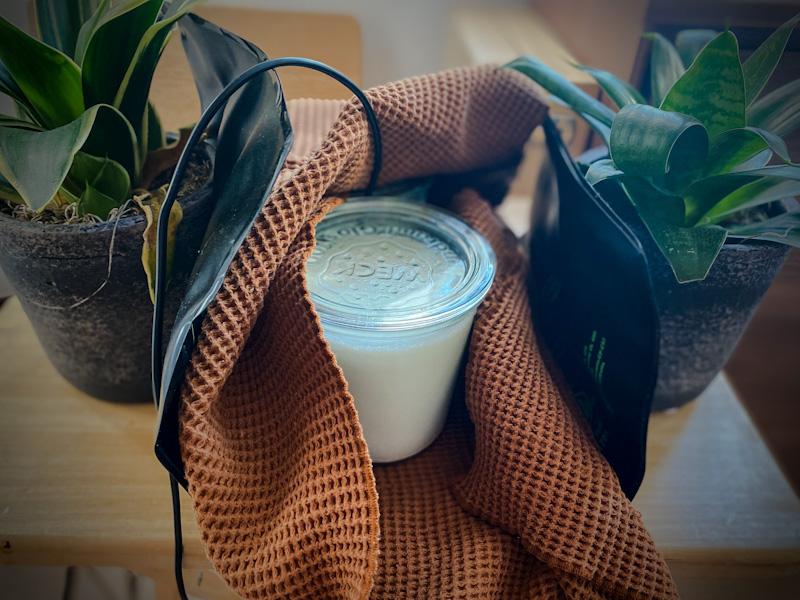
Place a thick kitchen towel on top of a heating pad set to a temperature of about 100°F (test with a digital thermometer if concerned). Add a large pot on top of the heat. I use a seedling heat map with a temperature control. Mine has a temperature controller that I set to 108°F and a probe that I place inside my pot that tells the controller the actual temperature. This way I can know if the incubator is getting too cold and I will add hot water as a type of ban-marie to increase the temperature.
Incubate Your Homemade Yogurt
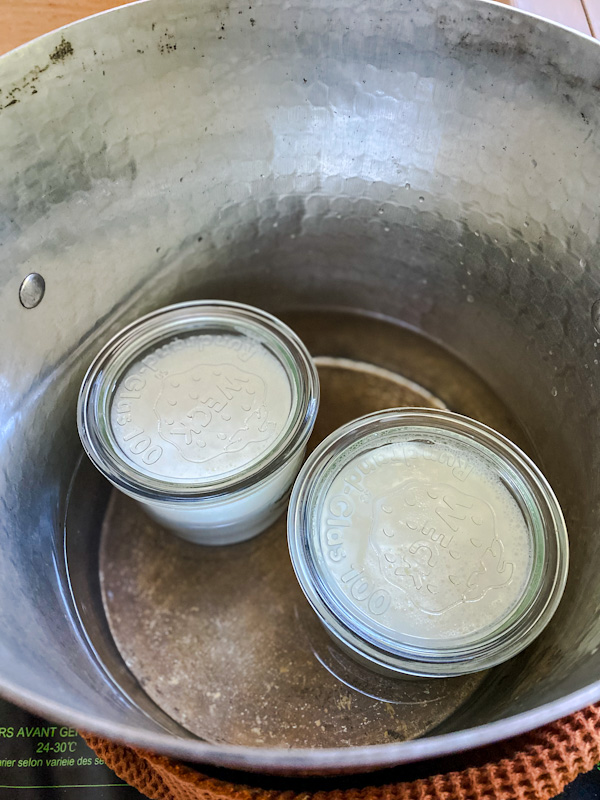
- Add your glass storage jars into the pot along with warm water to cover at least the bottom half of the jars.
- Cover the large pot with a lid and wrap the kitchen towel around the bottom.
- Let the mixture incubate undisturbed for 8-12 hours or overnight. The longer the incubation, the tangier the yogurt.
Check Consistency
After the incubation period, check the yogurt’s consistency. It should be set and slightly jiggly. If it’s too thin, you can incubate it for a bit longer (also check the milk is incubating at a warm enough temp).
Refrigerate
Once the yogurt has reached the desired consistency, refrigerate it for a few hours to chill and firm up.
Enjoy
Your homemade yogurt can be enjoyed as is or used in various recipes.
Alternative Methods for DIY Yogurt:
- Individual Serving Jars: Use single server-size containers for convenience. In steps 2 and 3 above, cool the mixture in the cooking pot. After cooling, mix the store-bought yogurt with a small amount of the cooled milk to create a smooth paste. Gently whisk the mixture back into the pot of cooled milk. Then add the cultured milk into individual serving containers with milk.
- Incubation: Instead of using a pot with water as an incubator, wrap the covered glass jars in a heavy kitchen towel on the heating pad. Optionally you can place the covered jars in an insulated container or cooler to maintain a consistent temperature.
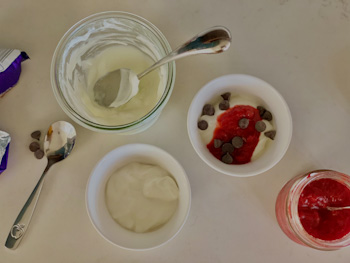
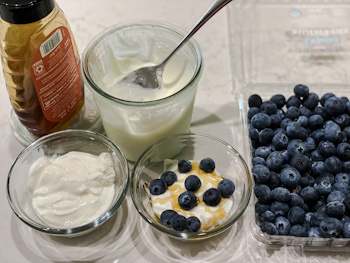
- Flavored Yogurt: You can flavor individual amounts of yogurt in different ways. Add a teaspoon or so of sweetener and mix to taste. For vanilla, lemon, or coffee yogurt add a teaspoon or more of instant coffee, lemon juice, or a splash of vanilla. For fruit on the bottoms, add blueberries, blackberries, and/or strawberries to the bottom of the jars.
DIY Yogurt is Worth the Small Effort
Making yogurt is a rewarding low-cost endeavor. With a few simple steps, you can create a batch of creamy yogurt free from additives and full of probiotics. Whether enjoyed on its own or as an ingredient for another dish, DIY homemade yogurt is worth making.
I’d love to hear if you have made yogurt and if you have any special uses for it. Please leave us a comment in the section below.

Pingback: Healthy Chocolate Panna Cotta and Fudgesicles Recipe - Juice of Seven Lemons
Pingback: Meal Ideas for the Week- 2023 September 11-17th - Juice of Seven Lemons